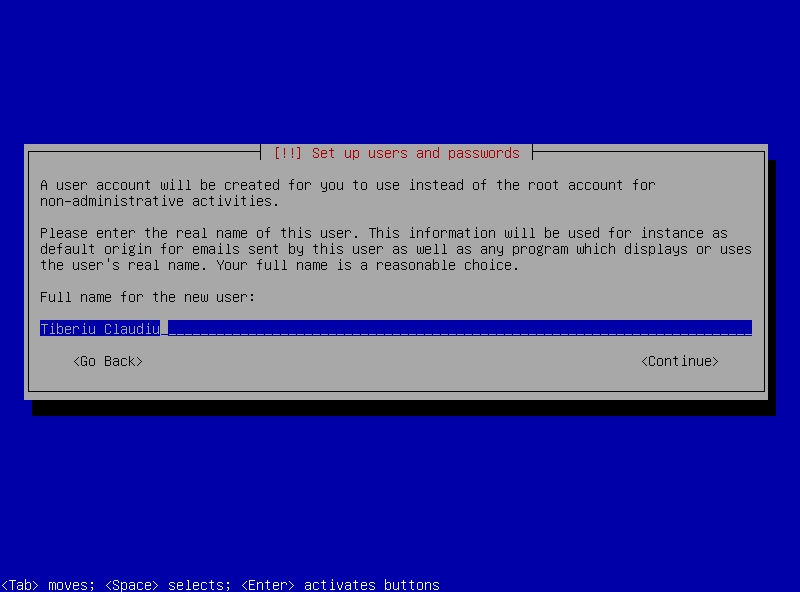
After we created our password for root, we will continue with creating a different account, with less privileges then root, specific for non-administrative activities:
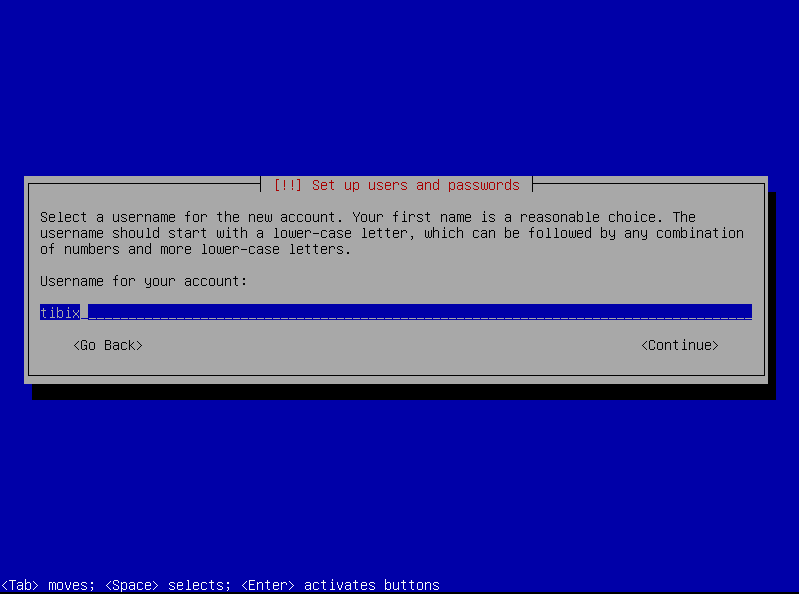
set the username:
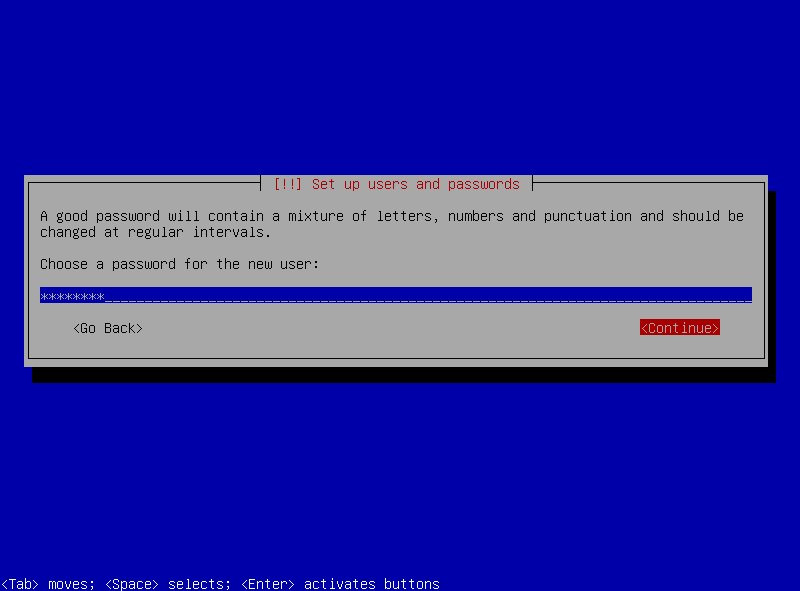
set the password:
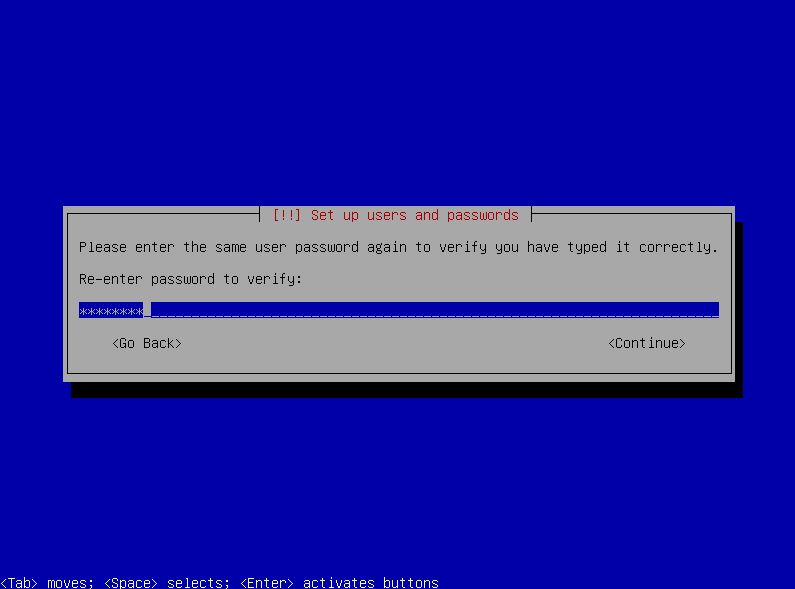
and confirm the password:
Next step in our setup is to format the disk and create the partitions. Here we have two methods as well:
- guided: where the system will “take” the drive, and based on his algorithm, it will create the partitions and format them automatically.
- manual: where we have to do every operation ourselves, and requires a bit more experience and knowledge on how Linux/Unix system works.
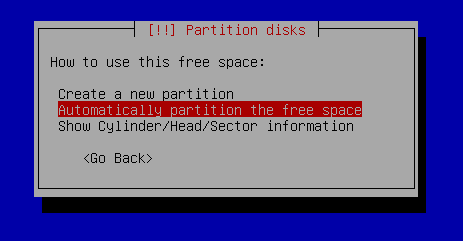
For now I recommend we use the Guided – use entire disk method as this tutorial is not intended to bore you with unnecessary details. In part 3, at the end of this tutorial, I will post how to manually set the partition and I will give you some more details on how to set them and why we choose some options over others. For now choose Automatically partition the free space and move to the next step.
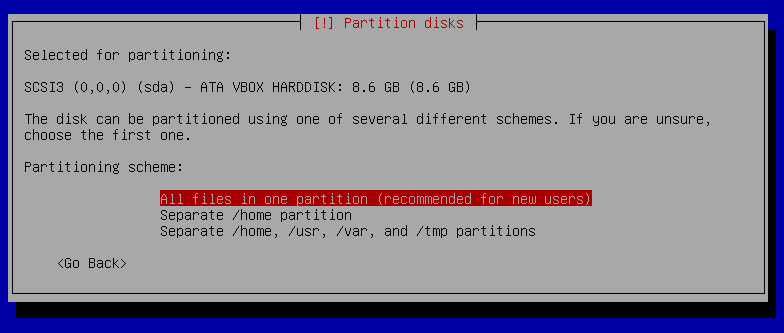
Choose option All files in one partition (recommended for new users):
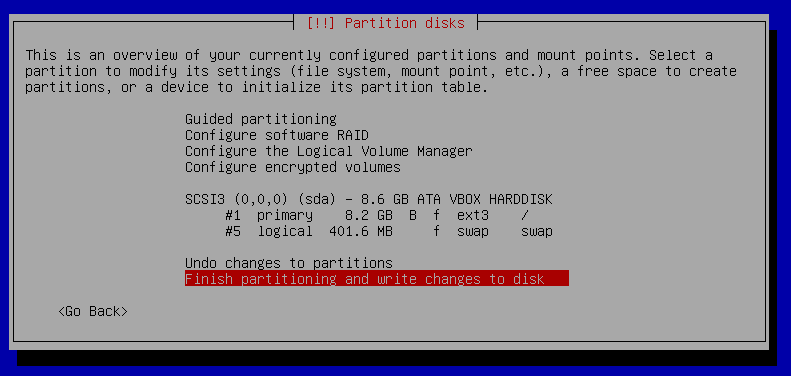
Choose Finish partitioning and write changes to disk:
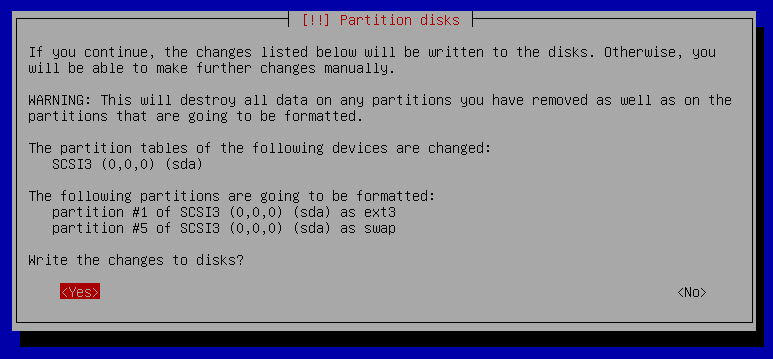
Confirm by choosing option Yes and press enter.
The install system base procedure will begin:
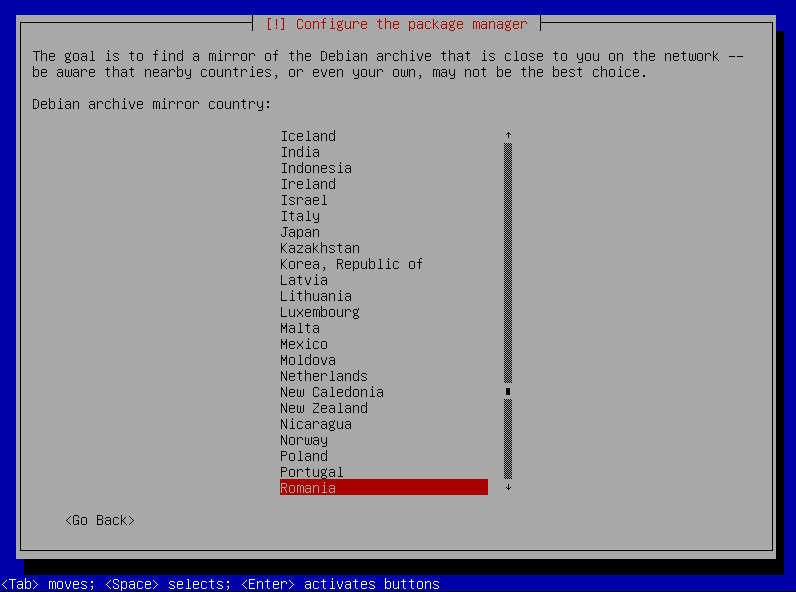
Next we will configure the package manager by choosing the “mirror” most appropriated to our country. In my case I will my country,
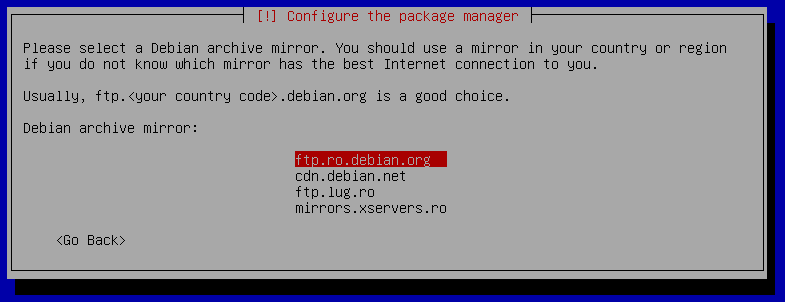
and after that I choose the actual mirror (in most cases there are more than 1 or 2 mirrors to choose from):
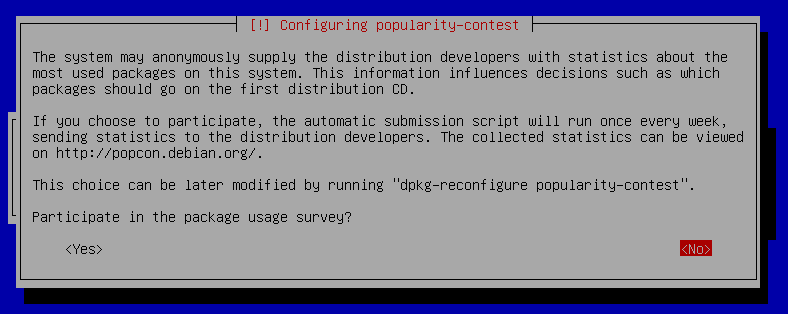
After configuring the mirror we will be prompted to participate in package usage survey. I do not have any opinion on this, but I always choose to skip this step as I do not agree with my system sending anonymous statistics about packages I install and use on my machine.
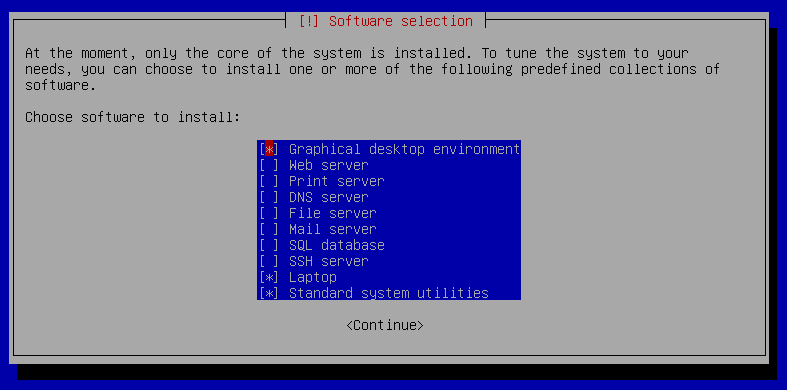
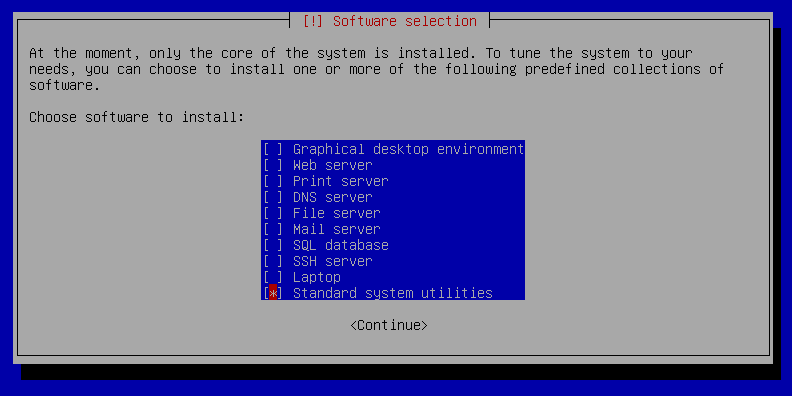
Now we will proceed with software selection. In this section we can choose to install a few applications like a Graphical Desktop Manager (GDM, which by default will be Gnome – for me personally this option is not an advantage as I switched sides to KDE a few months ago), Web/SSH/Mail/File server and others. I recommend you not to install any applications on this step for a few reasons, one: depending on your internet download bandwidth, this could take a lot of time, and two we could install everything we need after the initial system is up.
I will choose only Standard system utilities for the purpose of this tutorial
and then choose Continue. After this, the installation process of the selected applications will begin. Keep in minde that the system based packages are installed already up until this point.
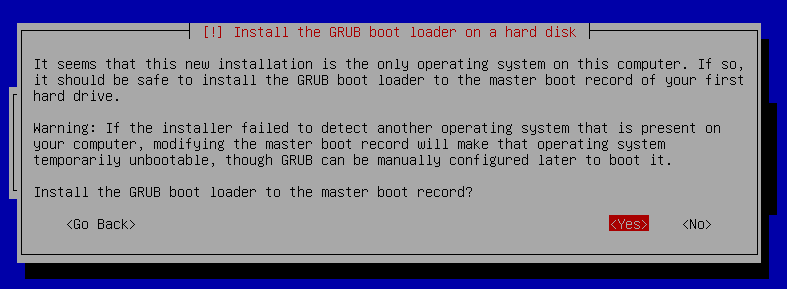
Just a few steps and we are done. Now we will have to install the boot loader. You might ask what is a boot loader? The boot loader is a set of instructions that will tell the OS from which partition to start and what options to use while it does that. Imagine the next scenario: on a machine you have install Windows XP (for some reasons 🙂 ), Windows 7 and now Debian. How will the machine know which operating system to start by default, or how long to wait until the user decides what boot option to choose? Well… boot loader to the rescue. We can actually define some parameters in GRUB (our “friendly” boot loader) that will help the system decide “automatically” what to do after BIOS job is done. I reminded here BIOS because a lot of people thing BIOS and GRUB are the same thing. Very false! BIOS (Basic Input/Output System) is the first code runed by a computer when powered on and it’s main purpose is to initialise all internal devices. It is essential for a machine to have a properly working BIOS while a boot loader is required only when a Operating System is installed.
We will choose to install GRUB to the master boot record (MBR) by selecting option <Yes> when we see the image shown below.
At this point we have finished installing Debian OS on our machine. We will be “forced” to eject the CD from the CD/DVD drive and restart the machine.
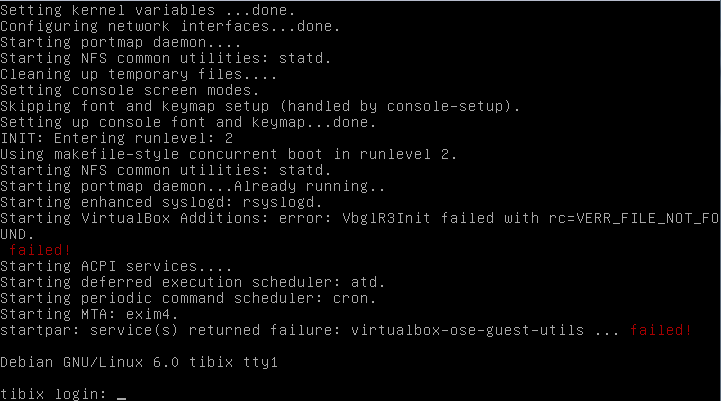
With this, our installing process is successfully finished, and now we can enjoy the fruits of our labour. From this point on, the fun will really begin. After the machine reboots and loads the OS, we will be prompted with the login screen:
In my case we can see a few failed services starting up, because this machine was created on an virtual environment (VirtualBox) there were a few other things that my system wanted to start be I didn’t provided the necessary files so my system is acting up. Not to worry though, this can be easily fixed :).
As I mentioned earlier, part 3 of this tutorial will contain detailes on how to manually setup the partitions during setup process, as well as more explanations on various options to choose from and why would we choose them. So please stay tuned for part 3.
If you run into troubles during setup, or you fell the need to add/remove/correct something to this article, please leave me a comment, or send me an e-mail and I will take necessary actions, depending on my availability.
