This is a tutorial on how to install Debian 6.0 from a minimal CD, procedure also known as Network install.
First of all we will need the get the image form Debian’s website and burn it on a CD. The image has 135-175 MB, so if you do not want to waste a CD on that, you could use the alternate method and install the OS from a USB drive or a USB thumb. The alternate method is not presented in this article but I will make a separate tutorial on how to make a “bootable” USB stick with Debian.
After you burned your copy of Debian on a CD, put the CD into the CD/DVD drive and set you BIOS to boot from CD/DVD media.
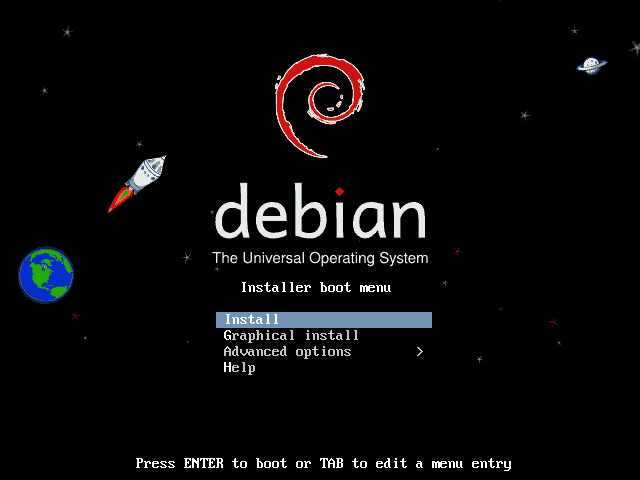
First image that will appear will be the Debian boot menu:
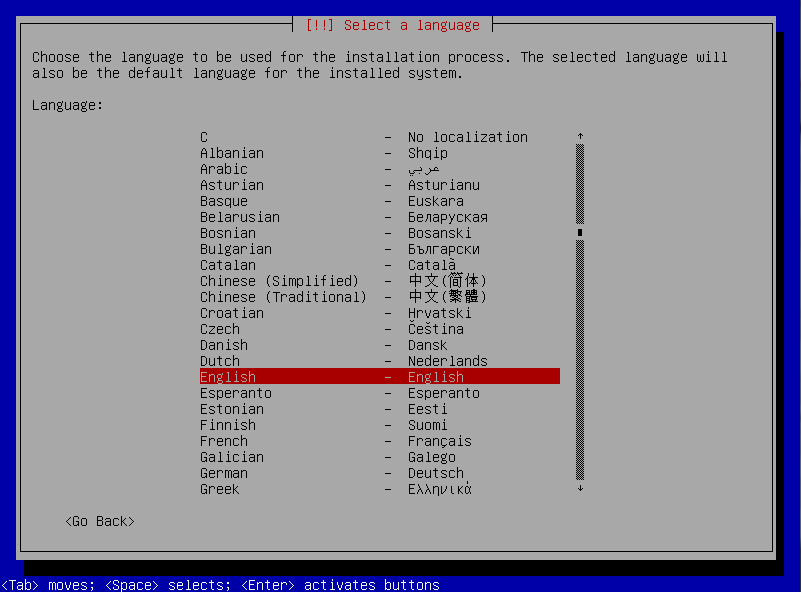
Select Install and press enter. First you will be prompted to select the language for the setup. Select the desired language by pressing UP and DOWN arrow keys, and hit ENTER.
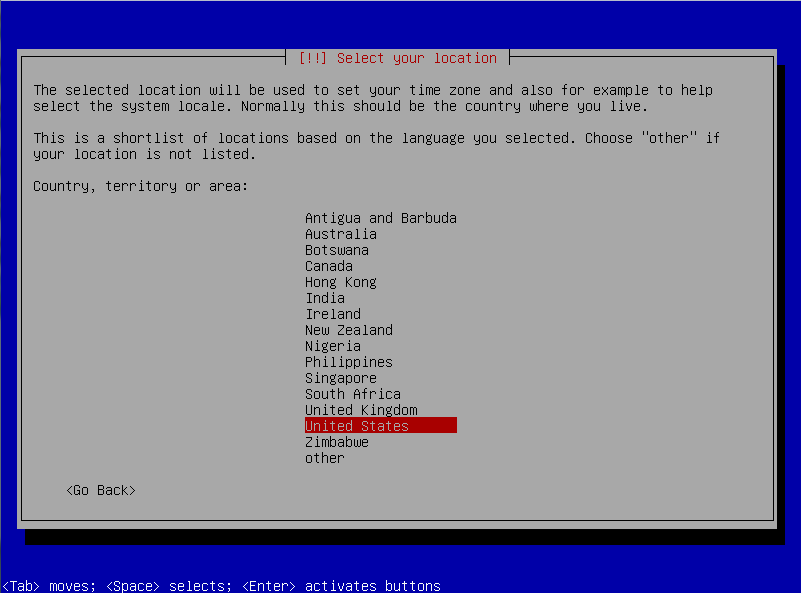
Next, select your location:
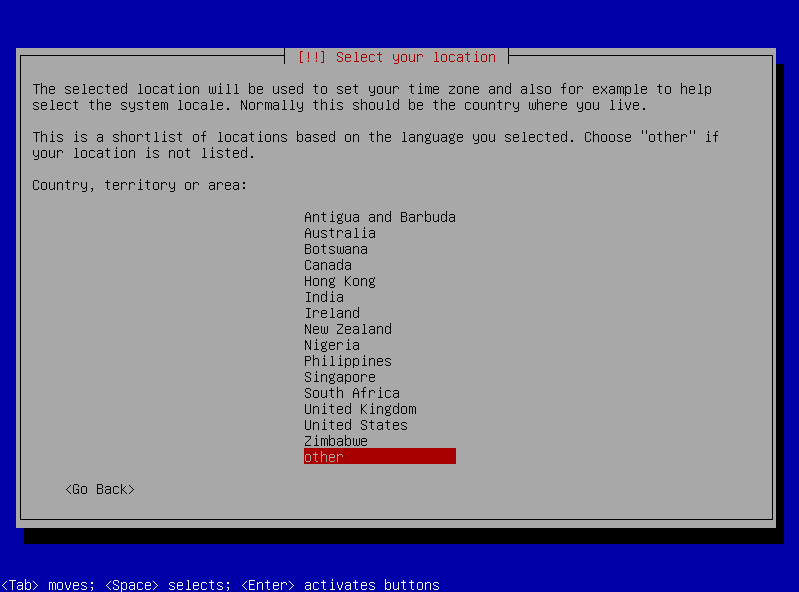
If your location is different than the default one you can user UP and DOWN arrow keys to navigate the menu. In my case I have to select other:
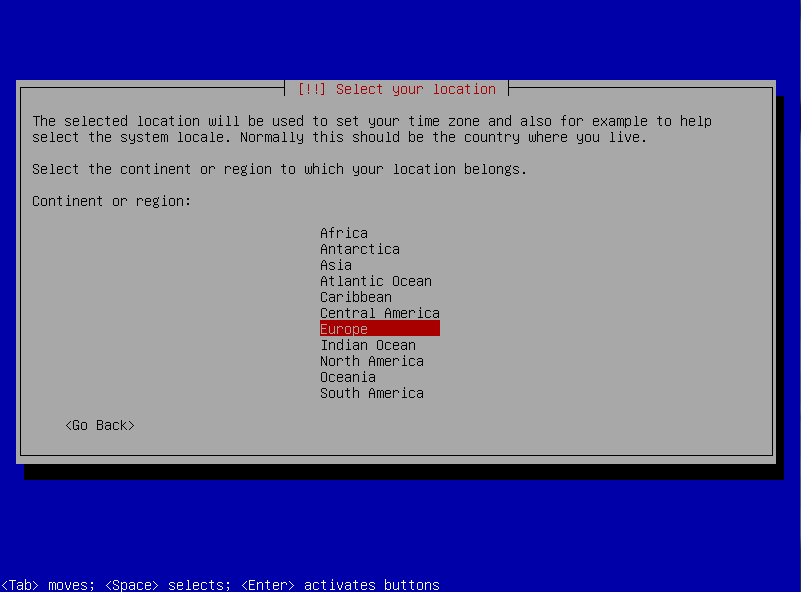
then on continent or region I had to select Europe:
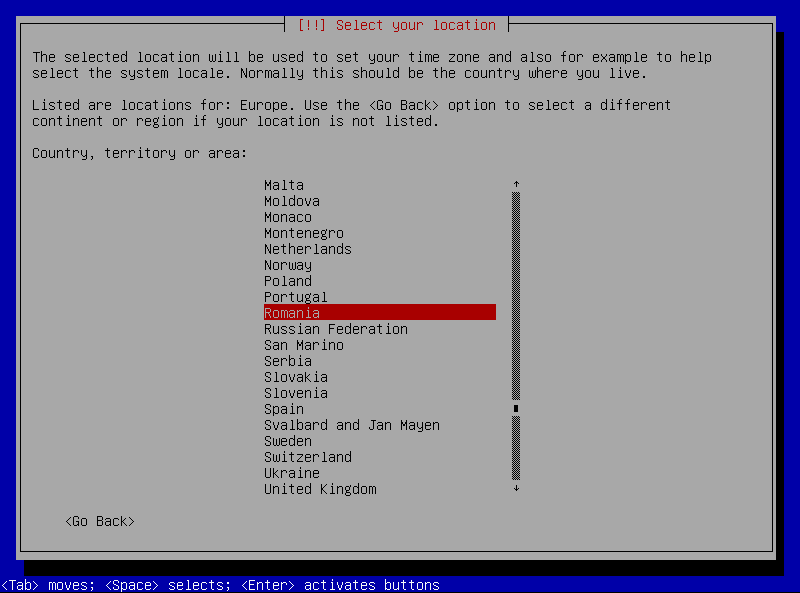
and then I selected my country which is Romania:
If the combination of language and country do not match you will have to set you locale settings. In my case being language English and country Romania I had to select a default locale pack. Since my interest in country was only for the package manager setup (step that will be discussed later in this tutorial), for me locale settings for United States will work just fine:
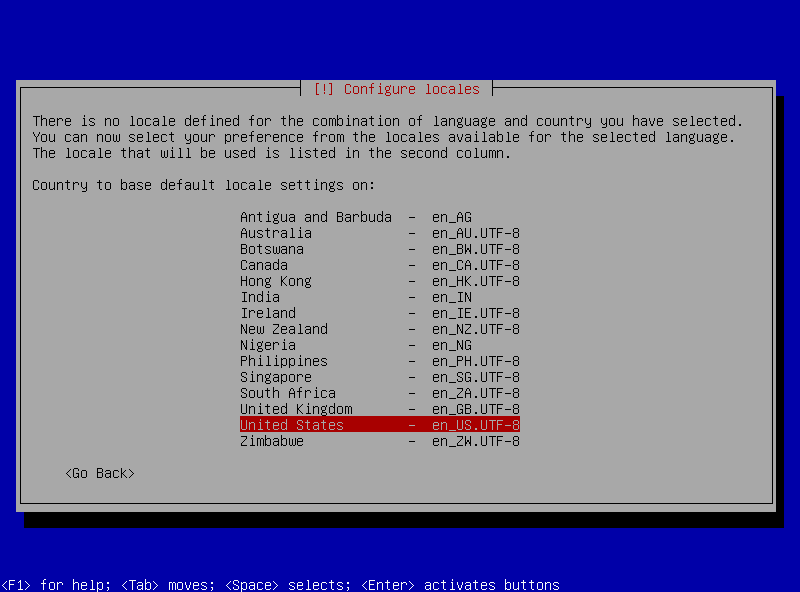
ITDev.ro – Install Debian Linux – Locale settings
Next step is to select your keyboard layout. Since I use a standard keyboard, I’ll leave mine on American English:
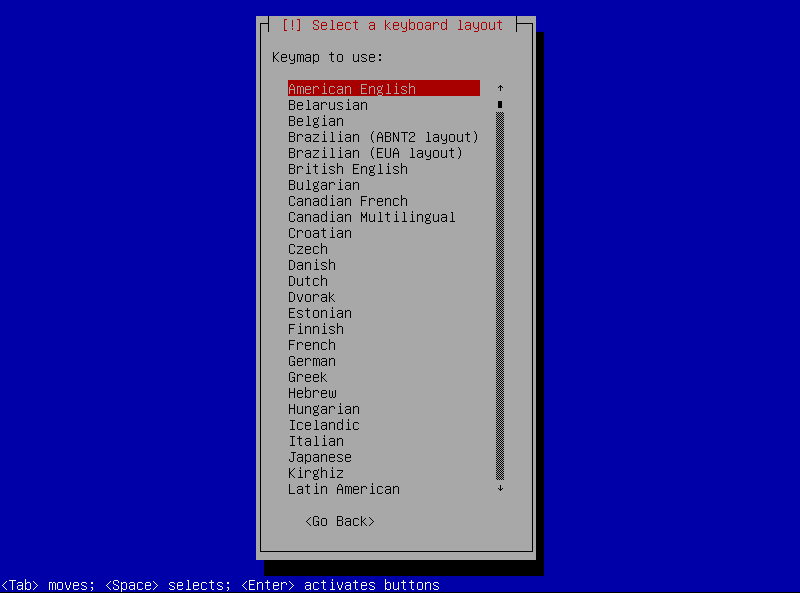
ITDev.ro – Install Debian Linux – Keyboard layout setup
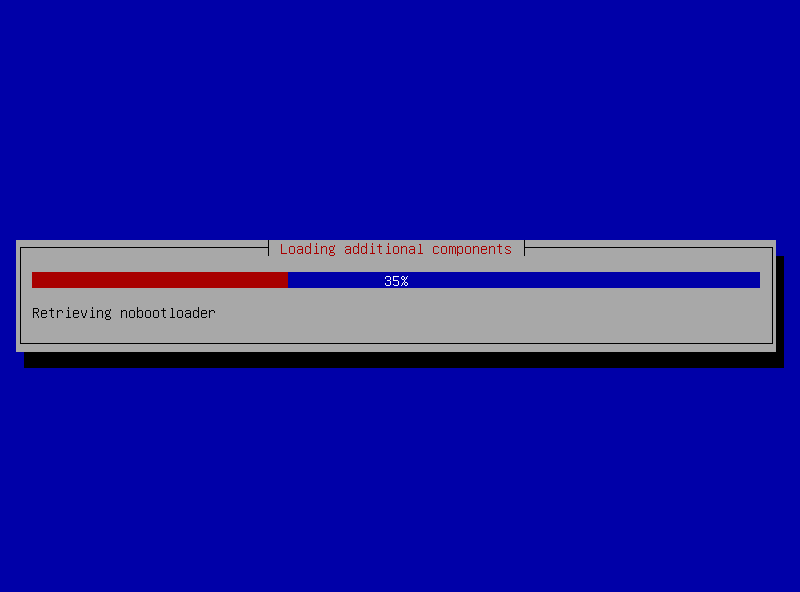
For a short moment you will see a progress bar with caption title Loading additional components:
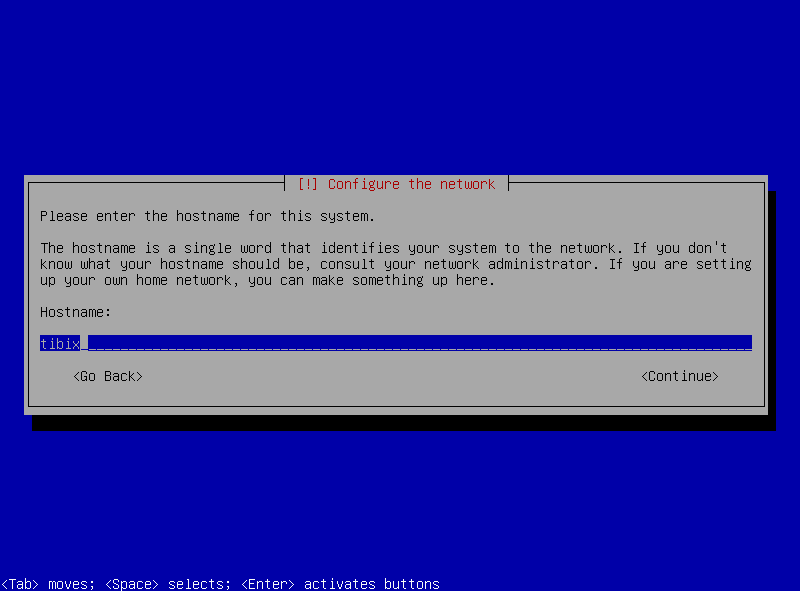
after that you we will be prompted to set our hostname (the hostname can be anything you like, if this machine will be part of your own private network, but make sure that the same name is not user for another appliance on the same network). For Windows user, the hostname here is the same thing as Computer Name under Windows OS.
Next part is the network setup. I recommend you have a working network with internet access for several reasons, most important being: this is a network install, and the setup will have to download some packages. The network setup can be accomplished in two way: manual and automatic.
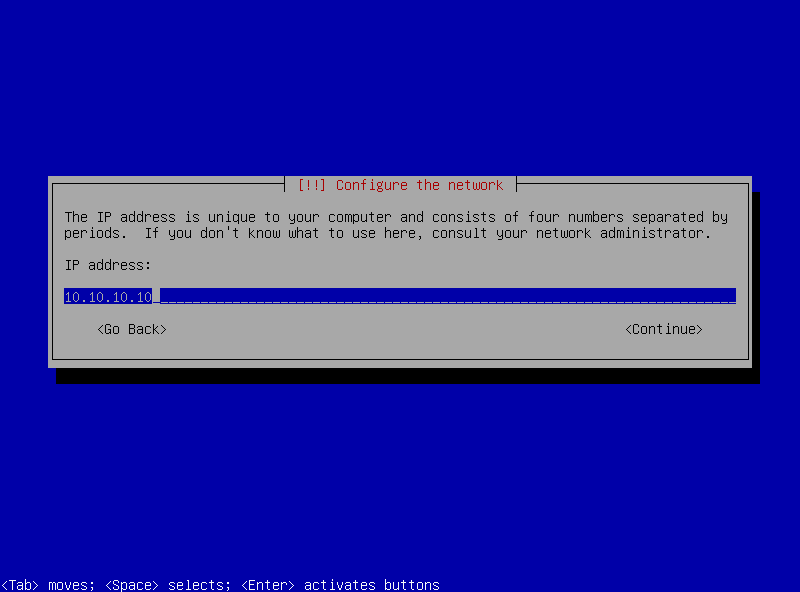
In manual setup you will have to provide all the settings, like IP address:
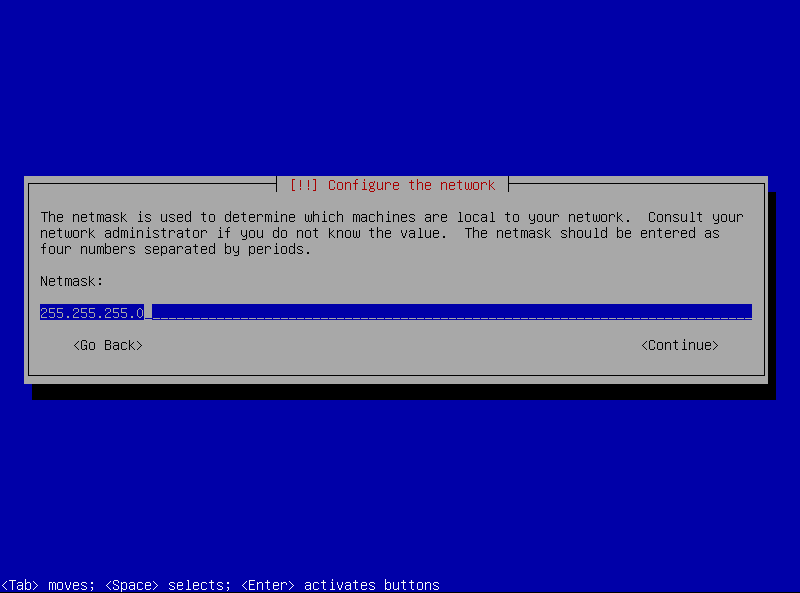
netmask:
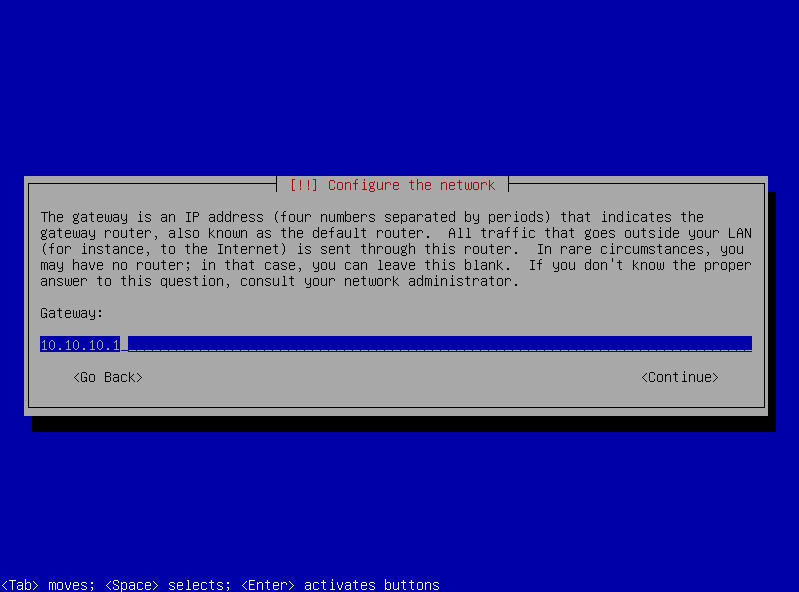
gateway:
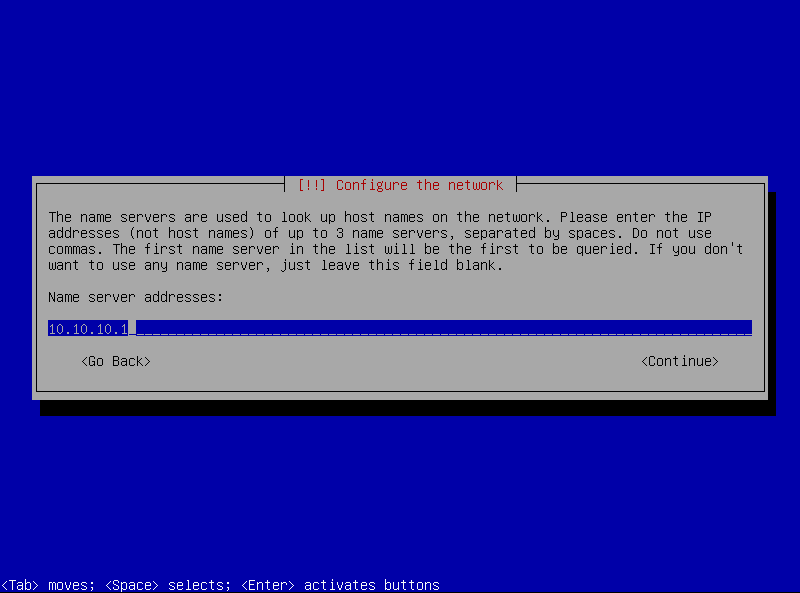
DNS (Domain Name Server):
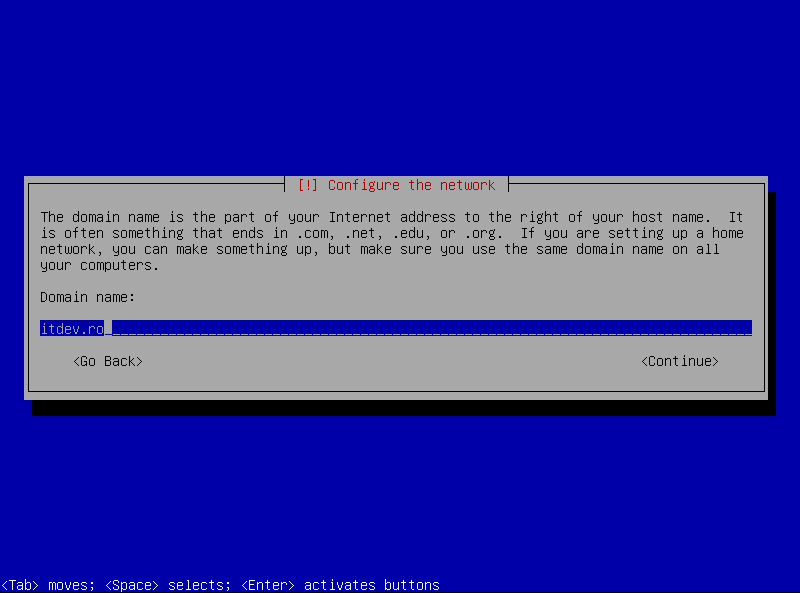
and domain name (if this is part of Windows server network) or workgroup name if it is a private network:
The automatic network setup will run, like the name states, automatically before it will give you the chance to try the manual setup procedure. In order to use the automatic network setup you will have to have a working DHCP (Dynamic Host Configuration Protocol) server on your network. If there is no such server present, the setup will let you choose how to setup the network card of your linux machine.
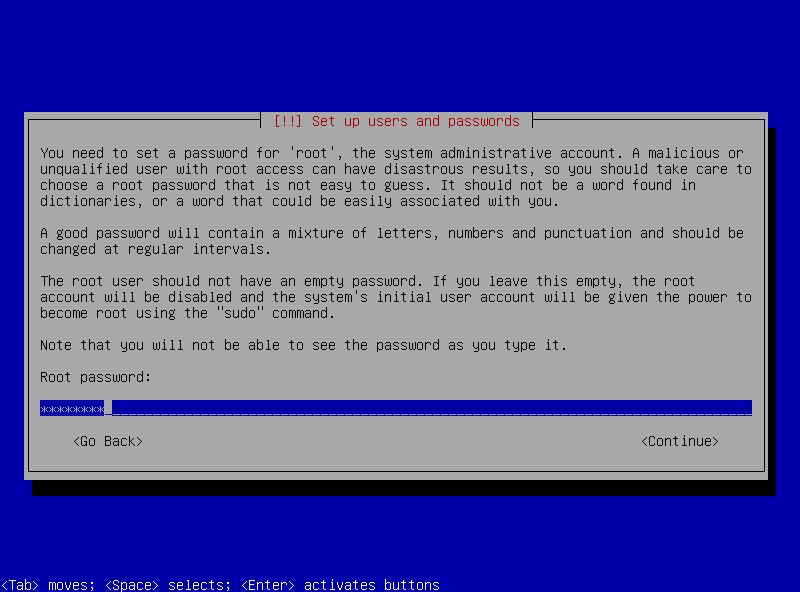
Next step in our setup is to set the password for user root (in Linux, root user is the equivalent of Administrator under Windows, which means is the user with the most power over your system. Any action taken under root will be permanent and sometimes irreversible, so please be careful what command you issue while logged in as root).
After setting the password:
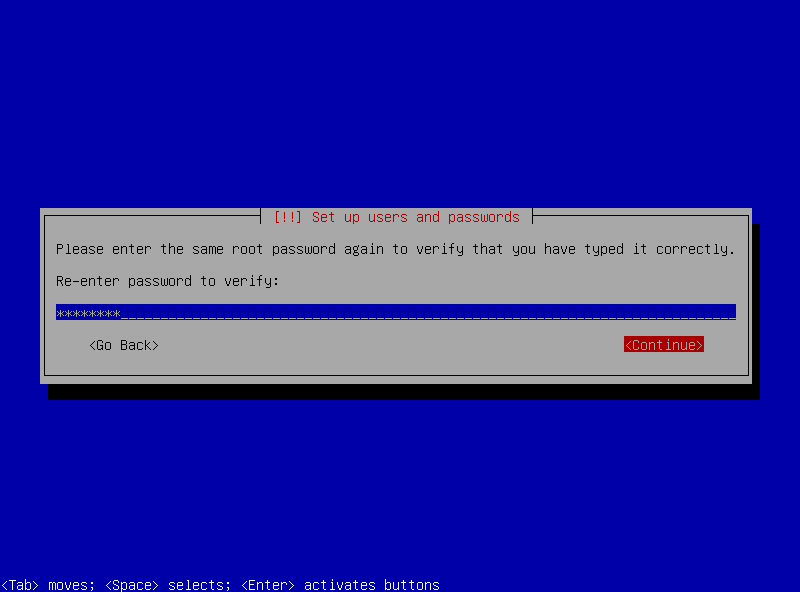
we will be prompted to confirm it:

