Installation
How to search a package using apt-cache search and wildcards
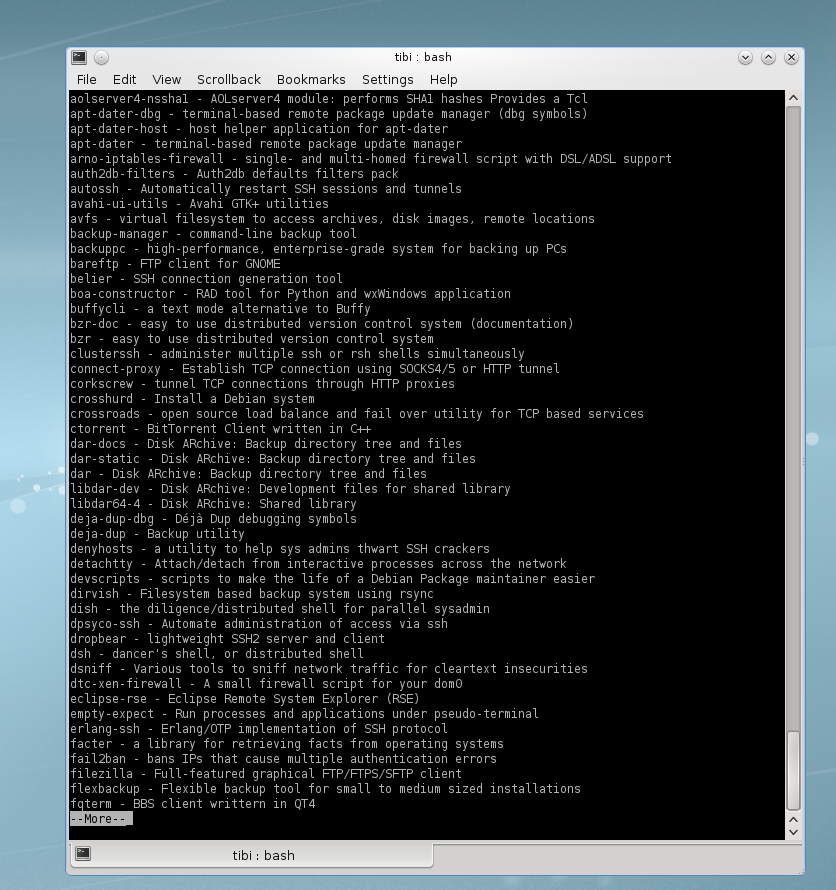
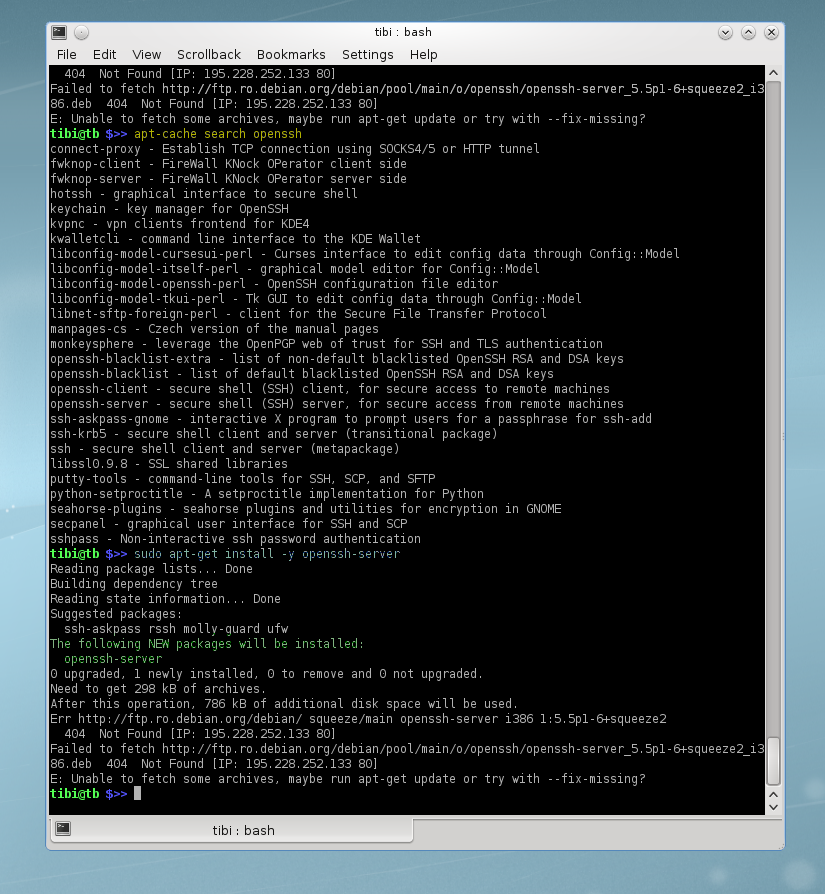
If you do not know the name of the package you want to install there is a quick way to find out, using the apt-cache search <text_search> command. For example you could use apt-cache search ssh which will return a list of packages containing the “ssh” sequence in the file name or description.
IMPORTANT: to search a package you do not need to be root, but to install it is mandatory. This means that you don’t have to run apt-cache search <text_search> command with sudo prefix.
TIP: sometimes the number of results received can be overwhelming and will not fit in one page. There is a way you force listing the results on multiple pages using the following trick: run the command apt-cache search ssh using the pipe (| – or output redirect) and the parameter more or less just like in the example below:
This will force the output of your search to be displayed on multiple pages so you could examine each option and change the page by pressing space key.
Select the best result
Since the list of results is enormous, you will have a hard time picking the best choice. Some people might like to go through every option and test everything before making a permanent choice. This could work if you have a lot of time on your hands, otherwise I would suggest doing a Google search beforehand. In my experience is easier to test an application suggested by the majority instead of going through 100+ applications before reaching a desirable result.
In this case I would suggest you to install openssh-server as your default SSH server.
How to install using apt-get install
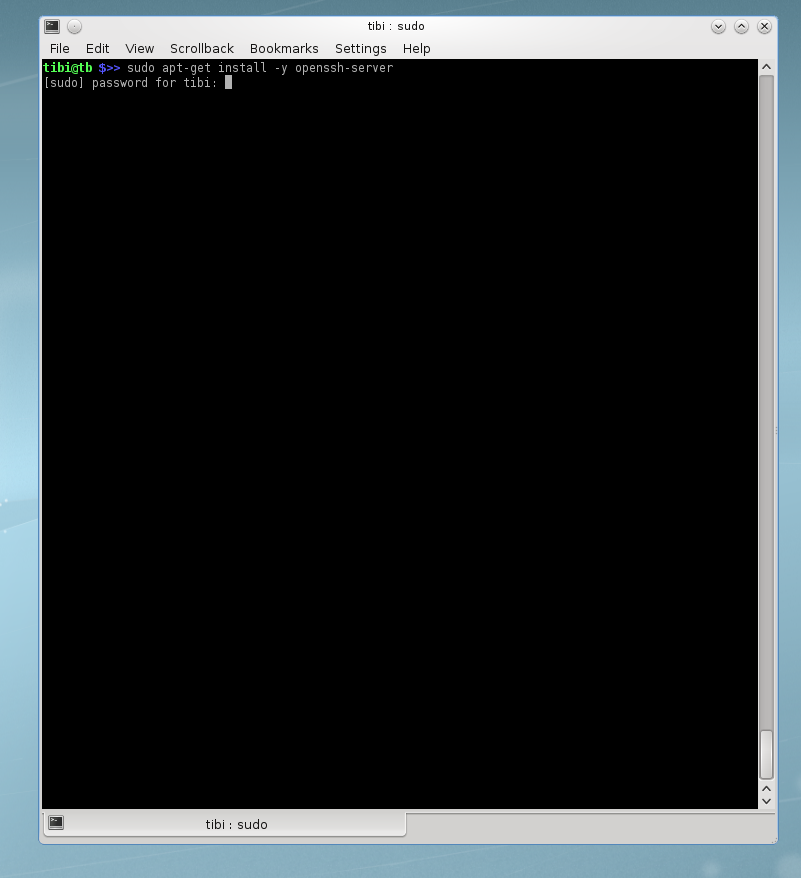
Installing a package (application) on Debian (or any Debian based Linux distributions) is done pretty straightforward, using the command apt-get install <package_name>. Every time you install something on your system using this command you will have to confirm, but there is a workaround to that. When issuing the command apt-get install after “install” insert argument –y so in the end your command will look like this:
Argument –y will install the package without asking for approval.
IMPORTANT: when installing packages on any linux distribution, if you are not logged in as root (or a user with administrative rights) you will have to use sudo (“super user do …”) prefix, if installed. If you don’t have sudo installed you will need to switch user (su – switch user) to a user with proper rights.
Configuration
Edit the configuration file
In order to set specific parameters to the SSH server, you will need to edit the configuration file beforehand. Using your favorite text editor (joe | vi | nano |pico … or what have you …). The file is located in /etc/ssh/. In order to be able to edit the file you will have to, either be logged in as root or a user with administrative rights, or launch text editor using sudo.
In my case, I will launch the editor with sudo prefix, like in this example: sudo joe /etc/ssh/sshd_config
Best practices:
Default port for SSH is 22, so normally any attacker will scan 22 and will try a brute force attack on default port. My advice on this is to change default port to other unused port.
Do not leave “PermitRootLogin to yes. I would suggest you set PermitRootLogin to no and install and activate sudo (apt-get install –y sudo) so you can log in with an underprivileged user, but you can sudo anything else that requires elevated privileges.
If you want to be very restrictive you could set “ListenAddress” to listen only on some predefined addresses or IP ranges.
Ex:
- ListenAddress 0.0.0.0 – will accept connections from every IPv4 host
- ListenAddress :: – will accept connections from every IPv6 host
- ListenAddress 10.0.0.0/24 – will accept connections only from IP addresses between 10.0.0.1 to 10.0.0.254
- ListenAddress 10.0.0.177 – will accept connections only from 10.0.0.177, any other connections will be dropped.
- For very restrictive environments you could set RSAAuthentication to yes and PubkeyAuthentication to no
- Never set option PermitEmptyPassword to yes unless you want to make a job really easy for an attackerJ.
So with all these advices in mind you should have a similar configuration file as in the following example:
### TIP ###

# the sign "#" in front of an instruction means that specific instruction   #

# is commented and will not be executed when the config file is loaded #

### END TIP ###

Port 12345 # server will listen on port 12345 so you will have to change this on you ssh software

ListenAddress 10.17.0.0/23 # server will allow connections only from this IP range

LogLevel INFO # this option can be changed to VERBOSE but it will take up disk space so use it cautiously

PermitRootLogin no # server will not allow root login

PermitEmptyPasswords no # server will not allow empty passwords
Protocol 2

HostKey /etc/ssh/ssh_host_rsa_key

HostKey /etc/ssh/ssh_host_dsa_key

UsePrivilegeSeparation yes

KeyRegenerationInterval 3600

ServerKeyBits 768

SyslogFacility AUTH

LoginGraceTime 120

StrictModes yes

RSAAuthentication yes # server will allow RSA Key based authentication

PubkeyAuthentication no # server will NOT allow public based authentication

IgnoreRhosts yes

RhostsRSAAuthentication no

HostbasedAuthentication no

ChallengeResponseAuthentication no

X11Forwarding yes

X11DisplayOffset 10

PrintMotd no

PrintLastLog yes

TCPKeepAlive yes

AcceptEnv LANG LC_*

Subsystem sftp /usr/lib/openssh/sftp-server

UsePAM yes


